Introduction
You’ve finalized the Figma. Everyone claps. You hand it off to engineering—and somehow a button ends up the wrong color, fonts shift, and spacing breaks on mobile.
I’ve seen this happen at nearly every company. It’s not because teams are sloppy—it’s because the handoff process itself is broken.
Most QA processes focus on functionality: does it work? But what about how it looks and feels? That’s where Design QA comes in—the critical step between an “approved design” and a “final build.”
In this post, I’ll explain exactly what Design QA means, why teams struggle with it, and how to fix it clearly and simply.
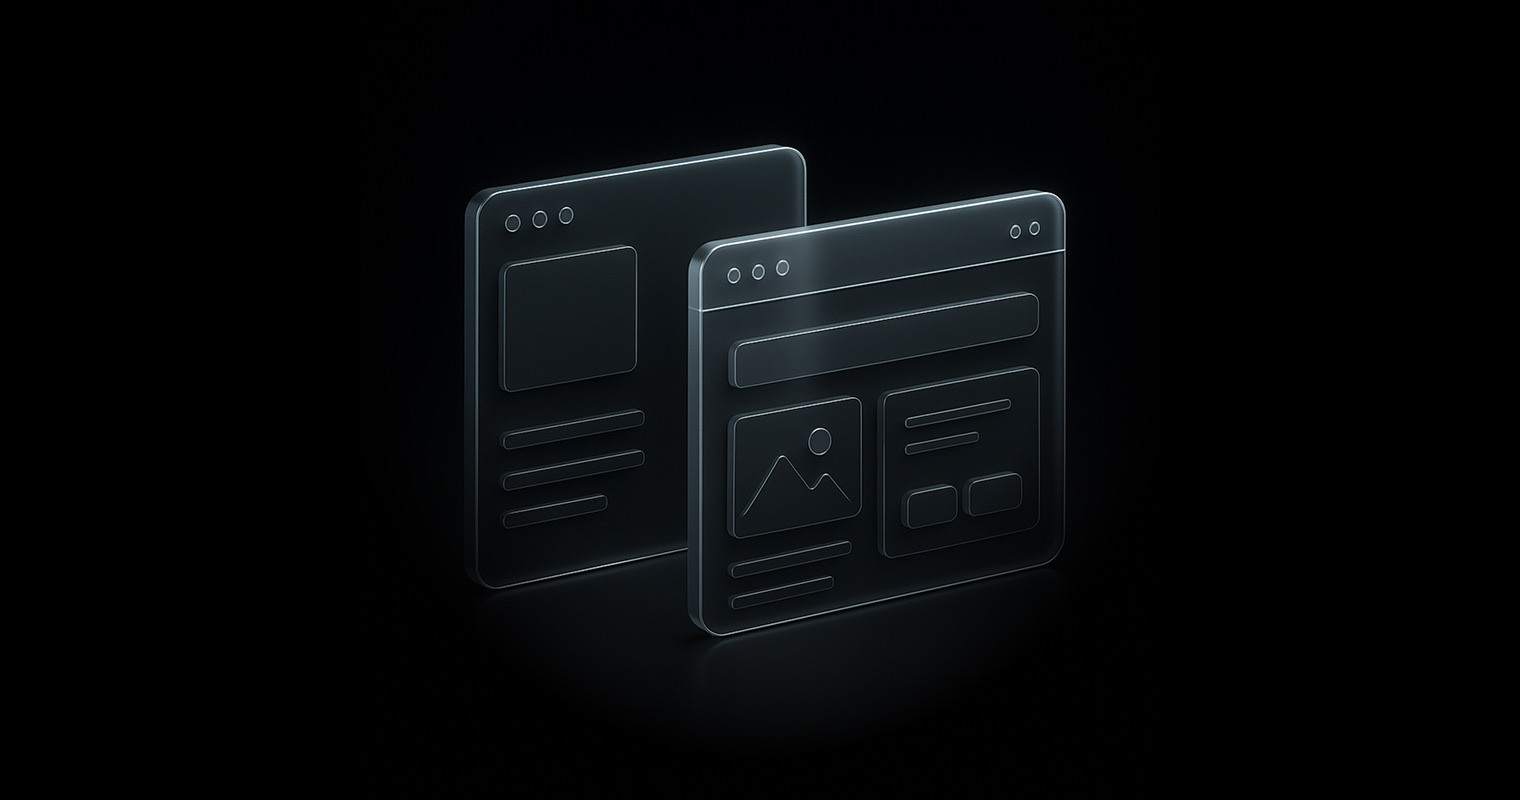
What Is Design QA? (And Why It Matters)
Design QA is the process of reviewing a product build to ensure it visually matches the approved design—down to every detail.
It’s about asking: Did we actually build what we designed?
This might sound simple, but it’s exactly where most teams trip up. Fonts get swapped. Spacing breaks down. Small UI states get overlooked—and those small issues quickly pile up.
Design QA isn’t the same as functional QA (checking if things work). Instead, it’s about visual precision and interaction accuracy. It’s about polish, trust, and respecting the original design decisions.
Here’s how I define it:
Design QA means making sure every visual and interactive detail in your product matches the approved design—before you ship.
Typically, Design QA covers:
- Typography, colors, spacing, and alignment
- Hover, focus, and disabled states
- Responsive layouts across all devices
- Consistent components throughout your product
It’s a critical step that bridges design and engineering, and teams immediately notice when it’s missing.
Why Design QA Matters: Real UI Issues
Visual bugs are easy to dismiss as “just design issues.” But the impact goes way beyond aesthetics.
Here are real-world examples I’ve seen firsthand:
- Primary buttons appearing disabled because the hover state was missed
- Form fields misaligned on mobile, making pages look broken
- Inconsistent padding creating visual imbalance
- Wrong font weights disrupting visual hierarchy
- Accessibility issues due to insufficient contrast between text and backgrounds
Functional tests don’t catch these—but users definitely do. And so does your brand reputation.
When visual issues go live:
- Users lose trust in your product
- Developers waste time on preventable fixes
- Designers feel undervalued when their detailed designs are diluted
Design QA catches these issues early, creating clarity and alignment. It’s not about perfection—it’s about quality, consistency, and shipping with confidence.
Common Pitfalls in the Design QA Process
Most teams handle Design QA informally and reactively:
- Designers sending screenshots via Slack
- Comments popping up in Figma after the build
- Manually comparing browser builds to designs
- Low-priority Jira tickets that are never addressed
Teams don’t neglect quality intentionally. Usually, there’s just no dedicated process or tooling for Design QA, making it fragmented and rushed.
As a result:
- Bugs slip through unnoticed
- Visual debt grows quickly
- Frustration builds—engineers feel nitpicked, designers feel unheard
Without a structured process, visual quality becomes optional—and “optional quality” always loses to speed.
How to Set Up a Simple, Effective Design QA Checklist
Design QA doesn’t have to be complicated. Simplicity and consistency are key.
A great Design QA process looks like this:
🔍 1. Check Visual Consistency
- Fonts, colors, spacing, alignment
- Consistent component usage across screens
📱 2. Validate Responsive Behavior
- Layouts on desktop, tablet, and mobile
- Spot spacing issues and layout breakdowns
🎯 3. Review UI States
- Hover, focus, disabled, loading states
- Ensure visual communication of interactions
🧩 4. Test Interactive Elements
- Click targets, transitions, microinteractions
- Animation alignment with original designs
💬 5. Clear Communication
- Document issues clearly for devs
- Reference original design files directly
Keep it fast and actionable. Maintain your checklist in Notion, Figma, or automate it entirely.
Consistency makes Design QA easy. When it’s part of your workflow, you ship better products faster.
The Future of Design QA Tools (Where DesignQA Fits)
The design-to-development workflow has evolved. Figma, Storybook, and visual regression testing tools have helped—but there’s still a critical gap:
No tool verifies whether your build matches the design before shipping.
That’s exactly what we’re solving with DesignQA.
DesignQA directly compares your live implementation to your Figma file—spotting visual mismatches instantly, and providing immediate, actionable fixes.
With DesignQA, you:
- Select an element on your product
- Link it directly to your Figma file
- Instantly see what’s off and get ready-to-copy fixes
No guesswork, no wasted time. Just clarity.
The best tools don’t just identify problems—they provide solutions. That’s the kind of tool we’re building.
Conclusion
Design QA is not optional. It’s essential to delivering products that look and feel right.
Skip it, and quality suffers. Embrace it, and you build trust, reduce friction, and ship confidently.
Great products don’t just work—they feel right. Design QA is how you get there.
Want a step-by-step walkthrough? Read our Ultimate Guide to the Design QA Process to see exactly how to run Design QA efficiently.
Ready to make Design QA effortless? Start your free 14-day trial or Schedule a demo today.